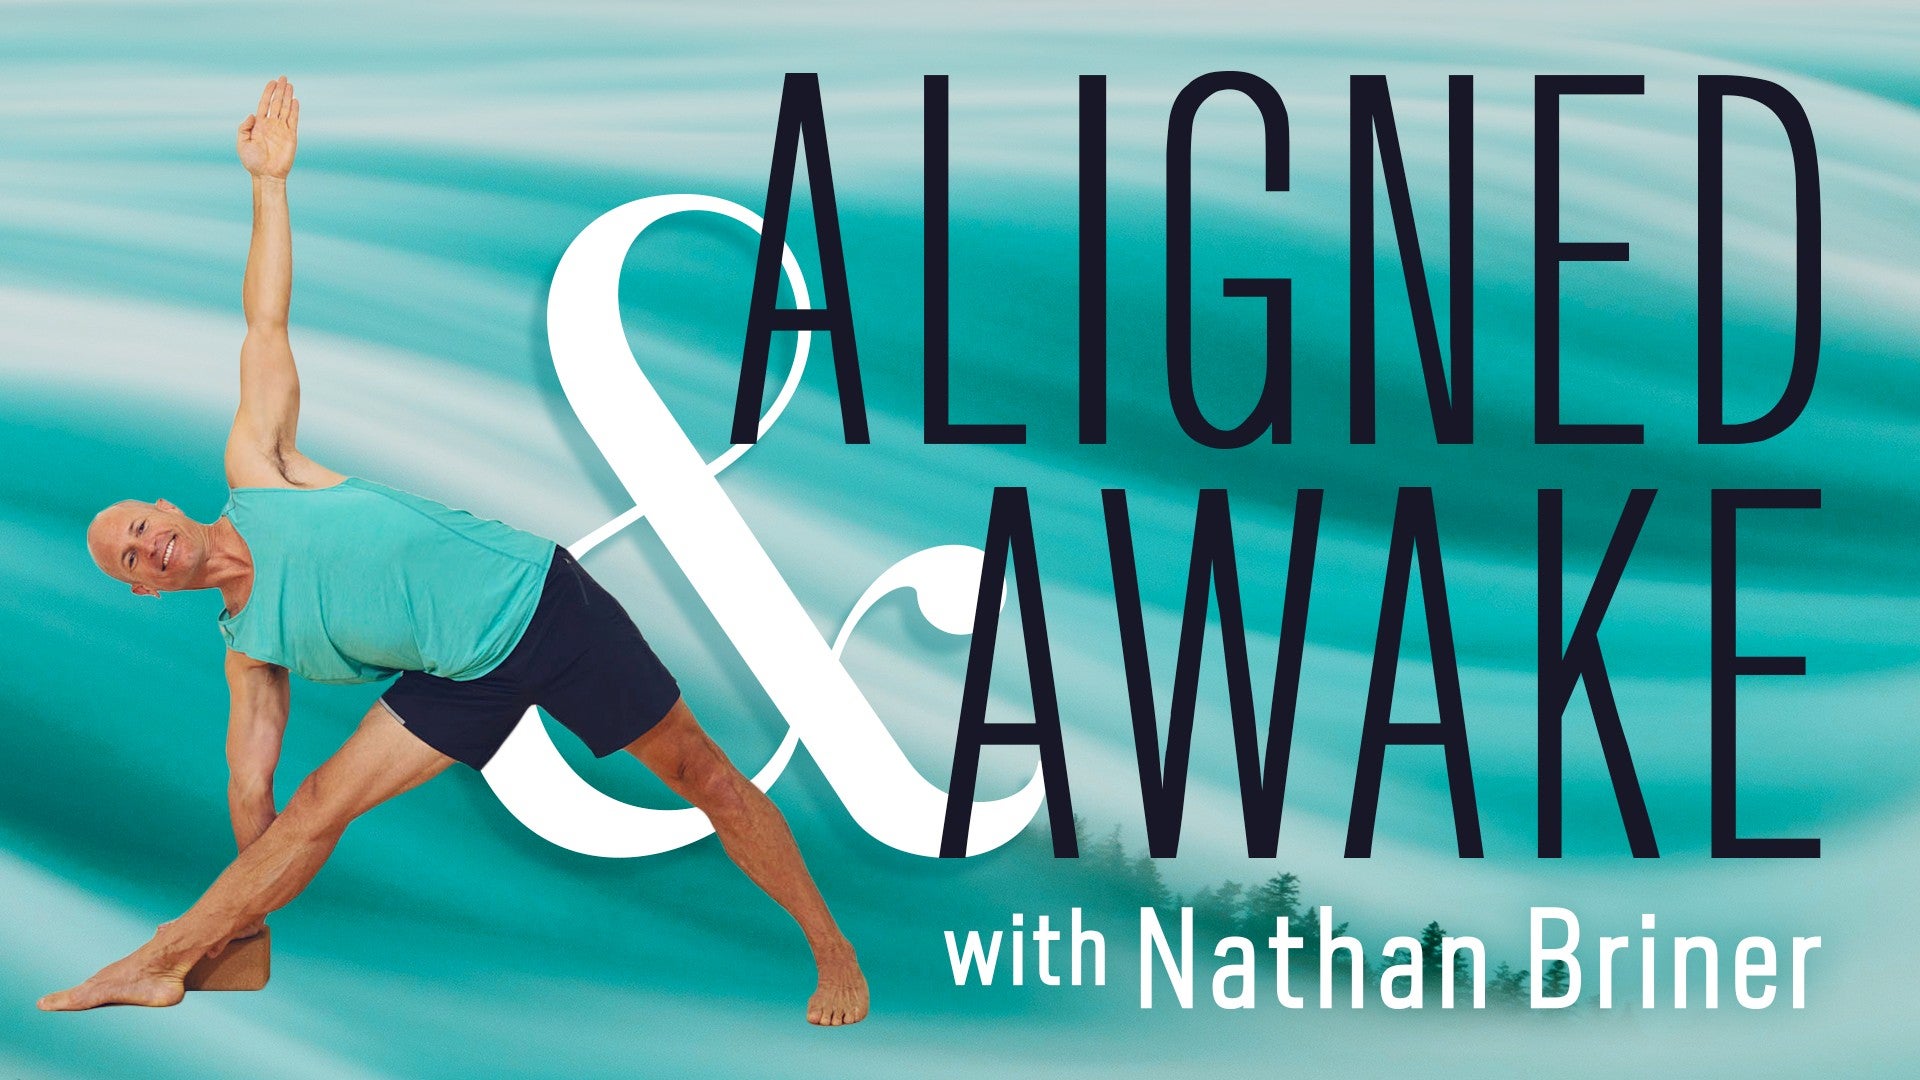
Description
About This Video
Transcript
Read Full Transcript
Welcome back. Practice five. We've got a strong practice for you here. We'll be focused on the core. I'm gonna start out a little different than we have in the previous practices, and I'm gonna bring a little element of Pranayama into this. It's called Kapalabati. And this is going to be to help warm up the abdominal muscles and get some heat going in the body early.
And pranayamas can be a little different from what you're used to, and I, you know, try something new here today with me. I'm gonna give you a quick example of how the kapplabati works, and then we'll do it together for three rounds. So it's a short forceful exhale and just a passive inhale. The body will automatically do that for you. So let me show you how it works.
You can rest your hands on your thighs, lift and open your chest, and I'll show here five rounds. Just that quick. We're just gonna do three rounds of 15. Everybody's gonna have a different pace on this, so don't worry if you're caught up with me or faster than me. Your body will do its own pace. Alright. So we're gonna do three rounds.
We'll pause in between each round. Let's rest the hands on the thighs, nice tall chest. We'll take a breath in to prepare and begin. Big breath in and relax. Get a sense of how your body feels after that first round.
Okay. Second round, 15 pulses. Don't worry about the pace. We'll finish together. Take a breath in to prepare.
We'll begin. Big breath in. You might have already started to feel the heat coming up into the body. This is an energizing breath, one more time together, big breath in to prepare, and we'll begin. And inhale, exhale, and let it go. Just take a notice of how your body feels. You might feel a lot of energy moving around after something like that.
It's a great way to start it up and build some action to the abdominal muscles. From here, we'll find our way into a dog pose and start our movement practice. Clime on him, dog pose. So let's take a few seconds to orient ourselves here. We'll do a little bit of movement, pressing the heels, bending the knees, getting the body ready for what's to come.
You're breathing nice and long. Let's shift forward to a plank for a moment. We can let the hips sink down into the ground. Just a light little updog and then again back. Peddling again. And let's hold our dog here for just a few moments.
Remember to press the hands into the floor to feel the shoulder blades opening up the chest all the work we've been doing previously. From here, bring your feet into the midline, and we'll start taking it to a deeper level, left leg up nice and high, raise off of your right heel, big breath in, exhale. Our first stop is knee to nose. Raise up your mid back. Inhale, stretch back. High right heel.
Exhale. Next stop is knee to outer elbow. Hold that for just a moment. Inhale. Reach back. High right heel. Exhale. Third destination is opposite elbow.
So we're gonna turn the trunk well as I try to get to the outside of that elbow. And then come back, raise up high, and to our dog pose, we rest. If you need the child's pose at any time you take it, once again, feet close to the midline, we'll raise the right leg up. Left heel high so we can get all kinds of height out of the pose, exhale first destination, nose to knee. Lift that mid back.
Bring it back. High left heel. Exhale, pulling it into the outer right elbow. We're gonna hold with the strength. Send it back. Final Nathan. We come across with a deep torso rotation to try to touch the outer left elbow. There it is. Hold and stretch it up.
Dog pose. Let's do take a child's pose. Rest the arms. Relax the wrists. And we'll fold down for just a moment. Let the breath recover.
And then once again to your dog pose. Nathan one more time, we'll bring the feet together, raise up your right leg. I've got a new pose for you coming forward over the shoulders over the wrists. We're gonna turn left heel to the floor and stretch through Come back. We'll place it down for dog pose and second side. Come forward shoulders over the wrists, knee into chest. Turn the torso and stretch through.
Very strong core pose. Come back, dog pose. We earn the rest. Rest your wrists and then head down to let the breath rate settle. Back into the dog pose.
Settling in nice long spine. Here we go, lift the heels up. And if you'd like, you can jump or step to the hands, exhale. We jump. From here, we'll lower the hips down, raise the arms up and come all the way out into standing. We're gonna keep the heat going.
A few sun salutations b arms up inhale, squat back. Exhale, hands down. Let's step to the first Chaturanga. Strong legs lifting core as we descend into the pose. Updog inhale. Down dog, press back.
Right foot forward, left heel down, warrior pose. We practiced a few of these on our previous session, exhale down. Sorry, Chaturanga. Up dog inhale. Down dog exhale. Left foot between the hands, right heel rolls to the mat. It's a warrior pose. And here, we're really just focusing on the flow of motion, helping all the joints warm up for our practice and down dog.
A few breaths here as we organize into our pose here taking the awareness through the body to feel and raise the heels look forward exhale step or jump to your hands. Fold forward. Inhale squat down arms up. Exhale pause in tadasana. One more. Inhale squat down arms up.
Exhale fold forward. Inhale to look forward and lengthen. Exhale chaturanga step or jump. Up dog. Breathe out down dog. Right foot forward, warrior pose, and Chaturanga Dandasana, up dog inhale.
Down dog exhale. Left foot. Arms up, warrior and Chaturanga. Up dog inhale. Nathan down dog. If you happen to find that the pace of the sun salutation is faster than you're capable of going right now, don't worry. You'd cut do your own pace Nathan us anytime in the down dog or rest in child's pose.
Before you know it, you'll be moving in and out of the poses. We're gonna jump forward and fold forward. And utkatasana, chair pose, exhale all the way out, and let's pause here in Tatasana to recover. Our next pose will be a chair pose with a twist, and we're gonna take it to a deeper level than we've been doing so far. We'll start with an inhale and arms up, exhale coming down into the pose.
With that long torso, we keep that torso long. I'll bring the left hand to the hip and the right hand of the thigh. That way I can keep the length, and we're gonna start to work in slowly, but surely. Exhale. We'll slide the arm through once. I can use this hand for help.
Exhale twice. XL, I can get a third and even a fourth time if I want. And this time, we're gonna fully open the pose, right hand down to the floor or block, if you like, left arm up. Inhale chest, exhale abdomen. Inhale chest, exhale abdomen.
We'll close the arms, make our way up out of the pose, arms up. Arms down. Relax the body ready for the second round. Arms up. So we get that nice torso length exhale sitting back. We'll bring the arms over to the side to start helping us with the length in the body. We lift inhale, exhale. I slide through one.
Inhale for length, exhale for twist. Inhale for length, exhale for twist, and we're taking the left hand of the floor this time. It's very helpful as though you're to turn your back down toward the floor more so than turning your chest to the sky. We'll raise the top arm up. Inhale chest, exhale abdomen, inhale open the chest, exhale turning the abdomen up.
We're bringing the arms together, arms up to the ceiling, and tadas and arrest. Shake out the legs. Another version of chair pose, also known as fierce pose will come down into our squat. Left leg, figure four. Coming down, down, down.
Core is sometimes a misnomer, arms up everybody, and we think it only involves this region of the body. But if the feet aren't strong, the knees, the hips, that area of the body won't be able to do its job. So we're going to work all of those areas through our core practice. Let's do the right leg. We'll come down a little.
We'll assist the right leg into its figure four, which is different from Lotus where the foot would be up here. Arms up, and we find our depth. Four, three, two, and out. From here, we'll find a crescent lunge, right leg back. In Crescent, we have the back foot heel lifted nice and high up so we can get that lift out of the trunk. And you can see that happening there.
Strong deep bend of the left knee. We'll take the right arm alongside the temple. A big breath in and I reach forward with the elbow, exhale and come across. This is rotated side angle. Again, I'm gonna use my two hands to help lift, exhale and turn. Lift.
Exhale and turn. Remember turning the back toward the floor. I hook in, and then take the hand to the floor or block, or you could go to prayer. Hand to the floor helps me lock in a little deeper. How the top arm.
The top arm is really what makes this twist go deep. Three, two, And one Briner the arms, unwinds slowly, safely. We'll step forward and shake out the legs. Let that blood move around in those muscles. And second leg, nice lifted heel. So I can get the space in the trunk to turn.
I'll take the left hand of the temple, take a big breath in and reach forward so I get Nathan starting. Exhale the elbow forward and beyond the right leg. A couple times, I'm gonna help myself in, inhale open and lift, exhale to turn, inhale open and lift, exhale turn. I've got myself a nice deep twist. I'm gonna take the hand of the floor, rolling the back toward the ground and the arm.
Holding three. Two, and one. Come out slowly, safely. We'll come up and step forward in together. Let's separate the feet just a little bit and do a forward fold, a ragdoll.
Let the body recover from these strong, strong poses. You're doing a great job working into these. I'm doing it at your own Nathan building over time with practice. You can change the interlock of the elbows. And then hands the knees lift the chest.
And there, see, we forgot all about those hard poses. Let's come up. I'm going to suggest using a strap unless you have a very easy grab of your forward leg, we're gonna be doing a straight leg hold. And our first side, we'll take the left side first and bring the strap underneath the foot. We'll use two hands for this. First, like we did in the back bends earlier in our earlier practice, sacrum and tailbone down, and then we'll extend the leg.
We lift up out of the body. Two things happening here, primary things. I'm stretching the left leg into the hold of the strap, and I'm pulling my arms to help anchor the leg in its socket. And then bend the knee and rest. We'll do the second side, right leg cradled by the strap. Bring the leg up.
And before you stretch out the legs, sacrum and tailbone down, that helps me get the strong power in the body from which I can extend the leg. I'm pressing down to the standing leg to help give me the lift in the torso. And do hunt for these things. Do feel you have that space in the body. Remember, that's really what we're aiming at in these awesome poses. The ability to feel and open up that space and bring it down, and we'll take a rest.
We'll add on to that pose with little rotation. Left leg is up. We'll start just like before and extend the leg, sacrum and tailbone down, and now we'll pass the strap only to the right hand. Here's our challenge. I stay nice and tall and torso.
Turning over that left leg. Here would be a wonderful pose to be practicing at the wall. If it's something you're unfamiliar with, Always great to get that support to feel these actions in the body rather than struggle against the balance. Let's do the second side, right leg up. Starting from the beginning, anchor down with a standing leg. Sacrum and tailbone down, passing the strap to the left hand.
Alright. Our challenge is to turn the torso. We'll unfurl the right arm. Maybe. There we go. Cool.
Couple more seconds. This is definitely my challenge side for balance. There it is. We'll come down and rest. Let's put the strap away.
Those are great challenging poses for the core. We've earned ourselves a good rest. So we'll take wide leg forward fold and let the body cool down for just a minute. Folding forward. Let's get a nice strong foundation with the heels and strong legs and gently and slowly.
We'll start coming into forward fold. You can rest your elbows on the ground. If you want blocks under the head, all of that is great to use right now. Whatever supports you need so that you can rest the body for just a few breaths. A few more breaths in this wide legged forward fold, Prasarita Paratenasana.
And we'll come back up. Pause in the pre pose And then heel, toe, heel, toe, heel toe. We come up. In previous practice, we started working on our crow pose. And as we're doing some nice core work here, thought it'd be nice to add that in.
We're gonna go a little bit more quickly into the pose. Bakasana, crow pose. We'll take the hands to the floor and raise the heels up high to project the knees. Can you see that? The knees coming up high into the backs of the arms. And then I can just pause and sit here for a minute.
Contemplate what's to come. I'll lift the buttocks up nice and high and really anchor those knees into the armpits. Start by leaning the body weight forward until you feel there's a possibility of light, light toes. And then landing gear comes up. And I hold for three, two, and one, feet down. Let's unfurl come up.
Let the body breathe for a moment. Remember you can do the single leg lifting if you're still practicing your crow pose. We'll do one more here and challenge this wonderful pose. Hands on the floor, heels up nice and high. And turn the tips of those elbows back sit down for just a moment.
This time, just a slight variation on the theme. I'm gonna bend the left elbow a little bit more and wedge that elbow back. See how high that knee is up on the arm now. Right arm. Little bend of the elbow. Bring the hand back.
And now, like vice grips, my legs strongly from the center are holding my body. Tip forward and up we come. So my legs are pinching the arms. Holding their steady from the core. And then come down.
Bring it up. We'll let the body breathe for a moment. Standing forward fold, ragdoll. And then from here, feet together and come down into a squatting position, heels up high. This will be just an introduction for side crow. We'll take the arms over 90 degrees to the side.
And using my elbow, I'm going to gently press the legs backward behind me to begin to turn the body. Couple more times. Turn, lift and turn the abdomen. And then wedging that elbow against those legs, I hold them back that way, place the hands. I just lift up a little bit, bend those elbows, We're just practicing a little bit of leaning the body weight to that side. That's all we're gonna do.
Before you know it, we'll be hovering off inside crow. There it is. We'll straighten the legs just to recover for a moment. And then second side. Come down.
I'll turn to the side so you can see. Lakes together heels up nice and high. Nice and high. We'll bring the body over 90 degrees or so to the side. We wanna lift and turn. Lift and turn several times.
I'm gonna use my left elbow to help wedge the legs back behind me that way. Then when I feel I've got a good twist, I'll plant the arms and I'm gonna hold my elbow against my legs. And all we're doing for this round is just feeling what it's like to tip. Feel how that core starts to engage. We'll tip two more times and come back and one more. And what you're hunting for is just that feeling that my gosh, my toes are getting lighter.
There's a possibility they could lift. We'll get there soon. And then we'll undo, let the legs go. One more time a rag doll. Rease the arms to the floor.
We'll bend the knees and step into a plank pose. From here, we'll be working on what we've worked on before for side plank, but we're going to go right into the full plank. We'll turn on to the right side. Remember our work with the toes here. We're gonna work the foot into the ground and lift, and we're in full.
Top arm can come up if you're feeling that freedom. And then come down and rest, hands and knees. And again, we'll come into plank pose. Turning open to the other side. I'll roll the outer left foot on the ground and work the sole of the foot down.
That acts to give these muscles a good charge, and I stack the legs. Top arm is up if you feel you have the freedom to do that, and we're holding for three. Two. And one coming down. Let's come to the knees for a second, give a rest, and we'll roll the hands, roll the wrists.
The wrists will build up strength over time as we keep practicing here. Round two of side plank. We're gonna add to it. Come into your plank. Turning onto the outer right foot and rolling again, the foot down on the ground.
So here we can stack the legs to begin. And now we're gonna make the top leg like tree as we build more and more height and power into the pose. If you have the freedom to lift the top arm, please do. And let's fully open the body for three. Two, and one coming down onto the knees for a rest, move the wrists as you need. And final pose in our side plank series, plank Turning onto the outer left foot, sole of the left foot working for the ground, two legs on top of one another, working into that tree pose feeling, and use those left hip muscles to lift.
Top arm up. If it's available to you, let's hold for three. Two. And one. Come down. Definitely a child's pose. Let's rest it out together.
Or perhaps, you know, if you're feeling up for it while rest, you can do a couple more on your own. With the body recovered, we'll come up into a sitting position. And we'll carry forward with the work that we're doing. We did a lot of practice in Navasana boat pose and previous sessions together. We're gonna take it to full boat pose today.
We'll start by getting a nice long spine, feeling that deep inner support, and bring the feet off the ground. We'll leave the hands on the ground for the first one, and extend the legs. Holding five four, three, two, rest. Take a pause. If full navasana isn't happening for you today, remember you have the work that we've been doing previously, single leg, all great opportunities to work into these poses. We'll take it back again.
Fingers on the floor, lift the legs, arms up now. Full boat pose, Patipurna, Navasana. Five four three, two, and we're resting. A little secret to navasana to corkscrew the legs inwardly. Not gonna let the heels separate way out to the side, but that inward spiral of the legs helps connect very deeply to the core muscles.
We'll draw it back. Leggs hover. Arms to lift the chest, inward spiral of the legs as you extend for five, four, three, two, and rest. Strong poses. Here, we'll drop back slowly towards Arda Navasana. In this position, walk the heel bones out, And this is where we'll stay with the legs, and then slowly with a deep round curve in the back, coming down to touch the waistband. Three, two, And let's go to the floor for our rest.
A little pause. Breathing. And bend the knees. We'll turn to the side. Come up for one more.
Version of Arda Navaasna. We'll start with the hands at the shins to help us support our way down, so we're learning to roll bone by bone into the mat. Walk the heels out, my strong steady legs, and then we're rolling back away from there. We're rolling the pelvis back first, first first, holding three, two, release. And bending the knees, come up. We can take a little pause here in cross legs, to relax the back. Relax the abdomen.
Coming up, easy twist. And easy twist. And then to center. Let's lie down on the back for the last two core poses. Our first will be arms alongside, knees into chest to start. Then extending the legs straight up to the air.
Our work here is to connect from the pubic bone to the Nathan, to the lower floating ribs so that you feel well connected Nathan the abdominal wall, and that the lumbar is supported. I'm gonna unsupport myself right now so you can see lumbar went way up into the air. That's what we're going to prevent with these strong abdominal muscles. Arms long side legs up, find that connection from pubic bone to Nathan to chest. And we'll start by taking an inhale as we reach the legs away, but all that awareness right into the abdomen and find your distance, exhale come back up.
Inhale go down. Exhale come back up. In inhale remember that inward spiral of the legs, exhale come back up. And one more secret tip to this work that we're doing right now, the stronger you have the legs, the more energy you have reaching out of the legs, the better the work will be. If you let the legs bend, the core won't be able to hold on.
Just a couple more, inhale reaching, exhale return, inhale reaching, exhale return, and here comes the last one. Inhale. Nathan let down. I'll give you a little secret tip. If that was quite challenging for you, what you can do, like we've been doing in bridge pose, you can hold on to the mat and push your arms to straight, which gives an automatic curl and hold for the abdominal work that we're doing. If you're feeling that that first round was very doable for you, we can take the arms overhead for the next round.
We'll bring the legs into the chest, find your connection in the abdominal area, legs up, and then inhale reach, exhale return. Inhale, steady lumbar, low back, exhale return. Inhale. Exhale. Three more. Inhale. Two. And last one. And rest.
Bring the arms in. Let's give ourselves a little hug around the knees. And then arms out to the sides. We worked a little bit with this pose in earlier practices, and we'll start here with one leg up, left leg, and the other tucked in toward the chest. I'm gonna be aiming my left foot towards my right hand.
I take a deep breath in, exhale and turn through the pelvis, through the lumbar, as though I were to sit my left foot in my right hand. Three, two, and one, and come out. Second side, right leg up, my strong charge to the leg with energy, inhale, and exhale to turn. Three two, and one, come out, knees bend, rest your feet. Now we have an opportunity to take both legs into the pose. You've got that single leg version, if that would be better for you.
We'll take the knees into the chest. Arms are alive with energy, legs alive with energy. Remember, we're aiming the feet as though to set right into the right hand, so they're not way away. They're held in tight. Big breath in.
Aghale. Let's take the legs up and over towards that right hand. And we'll hold for three. Two, and one, legs up. Give yourself a hug.
Strong challenging pose. And arms out. Second side legs up. A big breath in, draw the legs a little bit more over the eyes and turn into the second side. And we're holding for three, two, and one coming out, bend your knees and give yourself a nice hug. Mhmm. We did a lot of strong core exercises today. Time to take a nice unwinding set of poses to settle the body down.
Let's start just by releasing the legs down, separating the legs. Uh- mat width, and a slow easy rock left and right. And then coming to center, pelvic tilts where you gently rock the pelvis towards you, away from you, towards you, away from you, a couple more. And this is all releasing where there's not meant to be a lot of challenging muscular work with this, just nice, easy rocking. And then we'll extend the right leg down left knee into chest, you can assist the leg across you. Easy twist.
Nothing too deep. And coming back in second side, left leg down, right leg up. Easy twist. And we'll pause here with legs crossed. Relax on your back.
This helps open up the hip joints and hip flexors. The abdominal muscles. Letting the body cool down. From here, we'll bring the knees up and together, turn to the side and come up. We're gonna take a couple of restorative poses to help really calm the nervous system and finishing in Shavasana.
I'm gonna recommend a bolster if you happen to have one. If not, couple folded blankets folded long ways and stacked on top of one another will work perfectly. We'll start with a bolster of blankets right about in the middle of the mat, and we'll come up onto the edge of the bolster and lie down. At this point, you can see my shoulders are off the yoga mat. We're going to make a little shift by sliding over the front edge of that bolster and curling or coiling. The back until the shoulders come down. Right onto the floor, so you want to feel the weight of the body really coming down onto those shoulders. You feel the nice openness in the chest, and we're going to stay right here for just a few minutes.
To let the body adjust to this openness, relaxing your fingers. If you feel like closing your eyes, you can do that. It's a great opportunity to start. Calming down the legs and arms as we're heading to Shavasana next. Here, we wanna really let that abdomen be soft and descend toward the floor. Now offer a little bit more depth Nathan the pose if you'd like to.
Like we've been doing in our shahuasan as we can extend the legs almost to fully straight, and then a little gentle push in the heels to elongate the body toward the head a little bit, and that further helps relax the abdomen Nathan I slowly scrape the legs to their full length. And now I'm in a supported bridge pose. Just a mild supported bridge. And I am going to keep the feet a little active in this pose and draw them toward midline. With the legs in midline and that gentle pressure that we've done with the heels, you can feel a nice, long, softening elongation all the way through the core of the body, see if you can pick up on that in your body.
And as we've been doing in some of the backbend work, you might recall the sacrum and tailbone rolling toward the heels. That's exactly what we're creating with that heel pressure. And of course, the lift and lengthening of the front of the body. And then we'll bend the knees. Do an easy lift of the hips to take out the bolster. And if you can do it without coming up into sitting, using your legs, we can set up the bolster for our final Shavasana.
So that the calves and the heels are resting on the bolster. If you need to come up sitting to adjust that, you can do that as well. We'll take just a minute to gently move the skin of the buttocks towards the backs of the knees. A little tuck of the shoulders, and now we can fully release the legs. Let your chest open, your abdomen to be soft. Taking the energy out of the legs and arms.
And we'll just take a few minutes in silence. I invite you to stay as long as you'd like in your Shalasana. Enjoy that quiet, peaceful time. When you are ready to come out of the pose, you can rest one hand on your chest one hand on your tummy. One by one, bend the knees. Take a soft turn to your right side.
You can rest your head on your arm. And we'll turn a little bit more toward the floor and then press off to sitting. If you like, you can use your bolster or blankets if you have them for a little cushion to sit. Close the eyes for just a minute. You can rest your hands on your thighs.
I'm noticing all the things happening inside and outside. And thank you so much for being here with me, working on these challenging poses together. Looking forward to seeing you in the next session.
Aligned and Awake: Nathan Briner


Comments


bakasana and side planks with variations. Definitely makes me feel like I'm building up strength.



You need to be a subscriber to post a comment.
Please Log In or Create an Account to start your free trial.